


The butterfly haircut has quickly become one of the most requested styles, and for good reason. It gives you soft, voluminous layers, face-framing movement, and that effortless, blown-out look without sacrificing length.
Naturally, it’s tempting to try it yourself.
But while it might look simple in quick tutorials, getting that airy, balanced shape at home takes a bit more intention than just tying your hair up and cutting.
The good news is that with the right technique, you can absolutely recreate the look without ending up with uneven layers or regret.
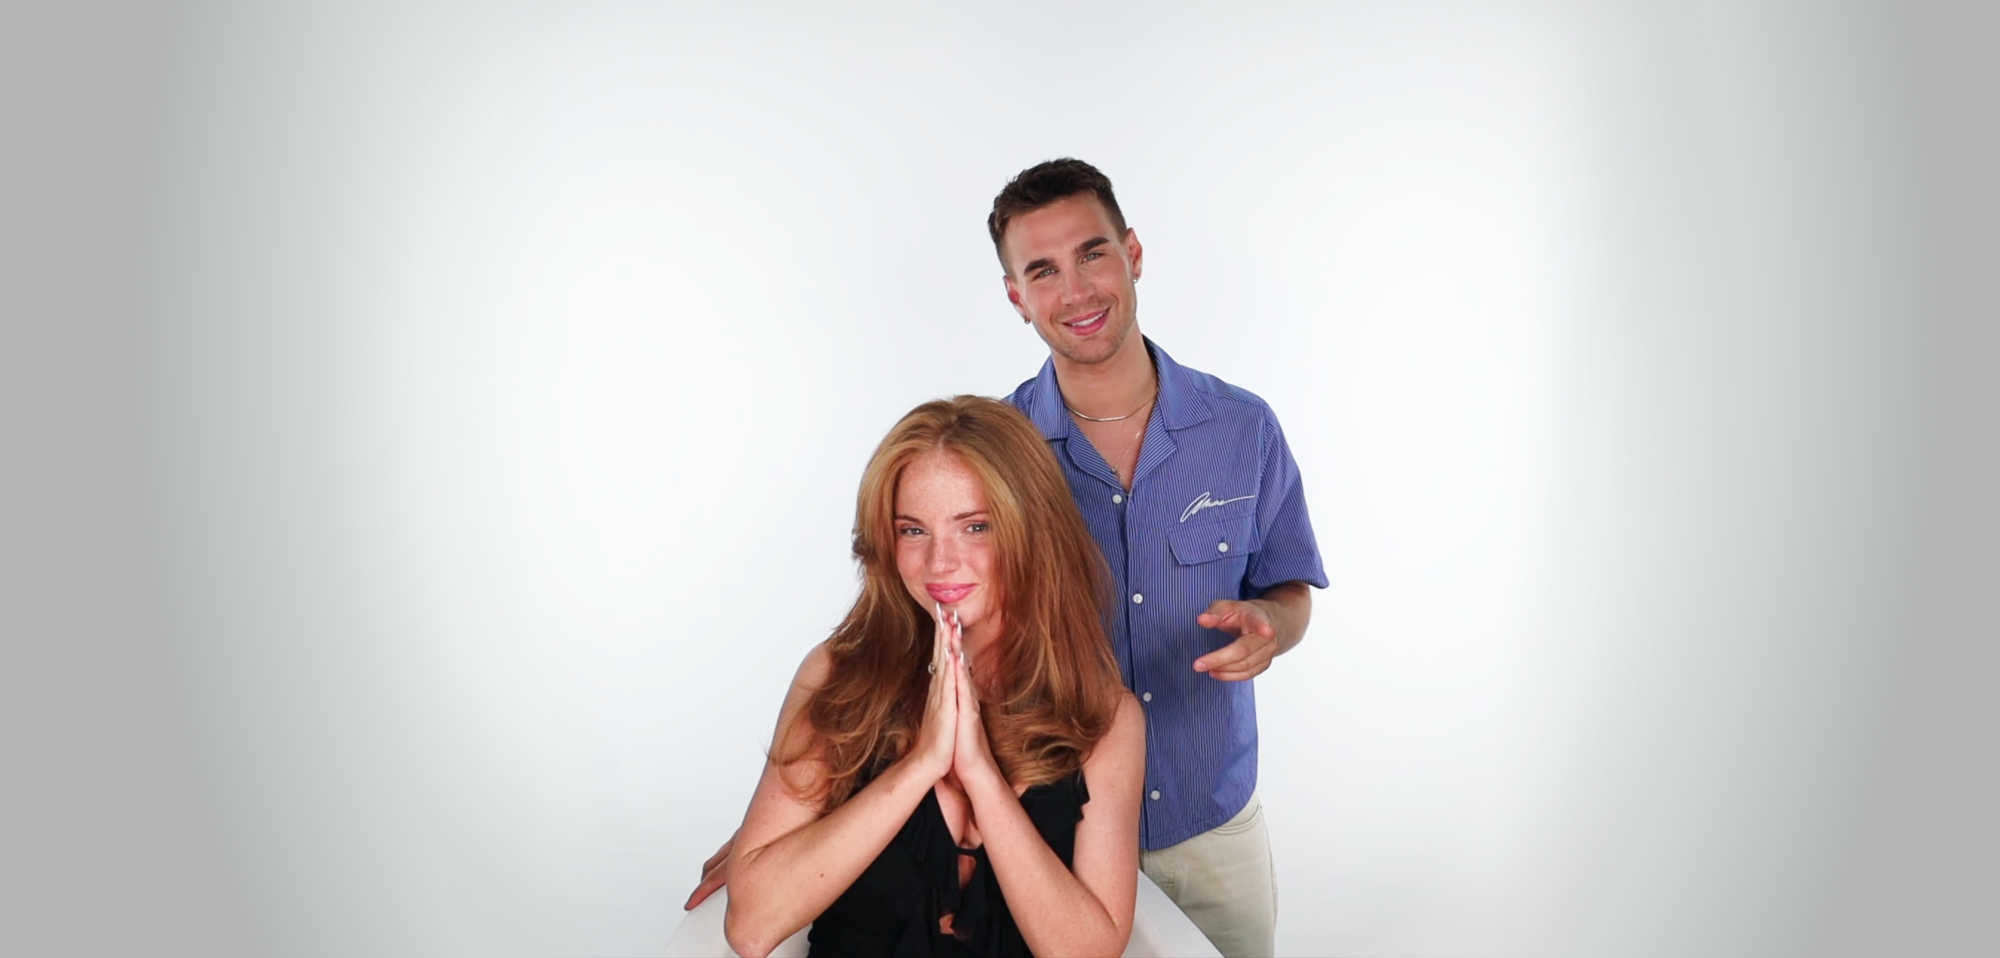
In the video below, Brad Mondo walks through exactly how to create a butterfly haircut at home, from sectioning your hair correctly to styling the finished look.
Why the Butterfly Haircut Is Everywhere
Unlike heavily layered cuts that sacrifice length, the butterfly haircut creates movement while keeping your long hair intact.
The result is soft, airy layers that frame the face, add body throughout the crown, and give your hair that signature blown-out shape.
It's easy to see why it's become one of the biggest haircut trends of the year.
Whether you're looking for a butterfly haircut with long layers, butterfly layers for medium hair, or simply looking for a layered haircut that feels fresh without being dramatic, this style delivers volume without losing versatility.
What Makes a Butterfly Haircut Different?
The butterfly haircut gets compared to the wolf cut all the time, but they're not the same.
A wolf cut leans shaggier, with most of the layering concentrated around the front.
A butterfly haircut spreads those layers more evenly throughout the hair while keeping the ends fuller. You still get dramatic face framing, but you also get movement and body through the back.
The result feels softer, more polished, and easier to style whether you're wearing your hair straight, curled, or in a blowout.
Before You Start, Get These Things Ready
Before you even think about picking up scissors, take a minute to gather everything you'll need.
- Hair cutting scissors
- A comb
- Two hair ties
- A spray bottle (if your hair starts drying)
- Optional: thinning shears for very thick hair
One more thing to remember. Your hair should be wet.
Brad stresses this for a reason. Wet hair gives you more control, creates cleaner sections, and makes your haircut much more precise. Cutting dry hair makes it harder to keep everything even and dramatically increases the chance of mistakes.
Step 1: Create Two Simple Sections

The sectioning is what makes this haircut work.
Start by finding the apex, the highest point of your head.
From there, create a front section that runs from the apex to just behind each ear.
Gather that front section into a ponytail positioned between your forehead and the center of your eyebrows. Brad jokes that you should look a little like a unicorn. If you do, you're on the right track.
Next, gather all of the remaining hair into a high ponytail positioned directly at the apex.
At this point, you should have two ponytails:
- One at the front for your face-framing layers
- One on top of your head for the rest of the layering
Step 2: Don't Be Afraid to Actually Cut Layers

This is where most DIY butterfly haircuts go wrong.
People get nervous and barely trim anything.
Unfortunately, tiny trims won't create the shape you're after.
The butterfly haircut relies on noticeable layering. If you only remove half an inch, you'll let your hair down and wonder where the haircut went.
That doesn't mean you should immediately chop off several inches.
Instead, start conservatively. Brad recommends cutting a couple of inches first, checking the result, then working your way shorter if you want more movement. It's much easier to remove more hair than it is to put it back.
One important detail: cut along the same angle as the ponytail rather than cutting straight across. Following that angle helps create softer, more natural-looking layers.
Step 3: Connect the Front and Back

Once both ponytails are cut, let your hair down.
You'll immediately notice shorter face-framing pieces and significantly more layering throughout your hair.
The last step is simply connecting those front layers to the rest of the haircut.
Don't overthink it.
Brad recommends making only a few subtle cuts to smooth the transition between the front and back. The goal isn't to remove more length. It's just to blend everything together.
Style Your Butterfly Haircut for Maximum Volume
The haircut creates the shape.
The styling brings it to life.
A butterfly haircut is designed to move, so volume and texture make all the difference.
Start with a heat protectant before blow drying, then build body with a texture spray or volumizing product. Once your hair is dry, finish with a lightweight smoothing oil (Brad's favorite is Hydrify Smoothing Oil) through the mid-lengths and ends to add shine without weighing the layers down.
[Learn how to prevent heat damage with expert styling tips →]
Blow drying the front sections inward helps emphasize the signature face-framing effect that makes this haircut so recognizable.
Does a Butterfly Haircut Work for Every Hair Length?
Long Hair
This is where the butterfly haircut really shines.
Long layers create movement without sacrificing length, making it ideal if you've spent years growing your hair and don't want to lose it.
Medium Hair
A butterfly haircut also works beautifully on medium-length hair.
The layers won't be quite as dramatic, but you'll still get softness around the face and noticeably more movement throughout the cut.
Thick Hair
If your hair is especially thick, thinning shears can help soften bulky sections after the haircut. Brad recommends using them only if needed and focusing on any areas that still feel heavy after styling.
The Biggest Butterfly Haircut Mistakes
Before you start, avoid these common mistakes:
- Cutting dry hair instead of wet hair
- Using dull household scissors
- Cutting straight across instead of following the angle
- Taking off too little hair and expecting dramatic layers
- Over-blending the front and back sections
- Continuing to cut after everything is already connected
When in doubt, slow down. You can always cut more.
The Bottom Line
There's a reason the butterfly haircut has become one of the biggest hair trends of the year.
- It adds movement without sacrificing length.
- It creates soft, flattering face-framing layers.
- And it gives your hair that full, bouncy shape that looks just as good styled as it does air dried.
The best part? You don't have to be a professional hairstylist to pull it off.
Follow Brad's step-by-step technique, keep your sections clean, work gradually, and let the layers do the work.

Share: